반응형

EDA를 자동으로 해주는 판다스 프로파일링을 소개하고자 한다.👀
01. pandas_profiling(판다스 프로파일링) 설치
〰️프롬프트에서 설치
pip install -U pandas-profiling
혹은
〰️ 주피터 노트북에서 설치
!pip install pandas_profiling
02. pandas_profiling(판다스 프로파일링) 적용할 데이터 불러오기
import pandas as pd
import pandas_profiling
데이터를 불러오기 위해 pandas를 import 해주고,
설치한 pandas_profiling도 import 한다.
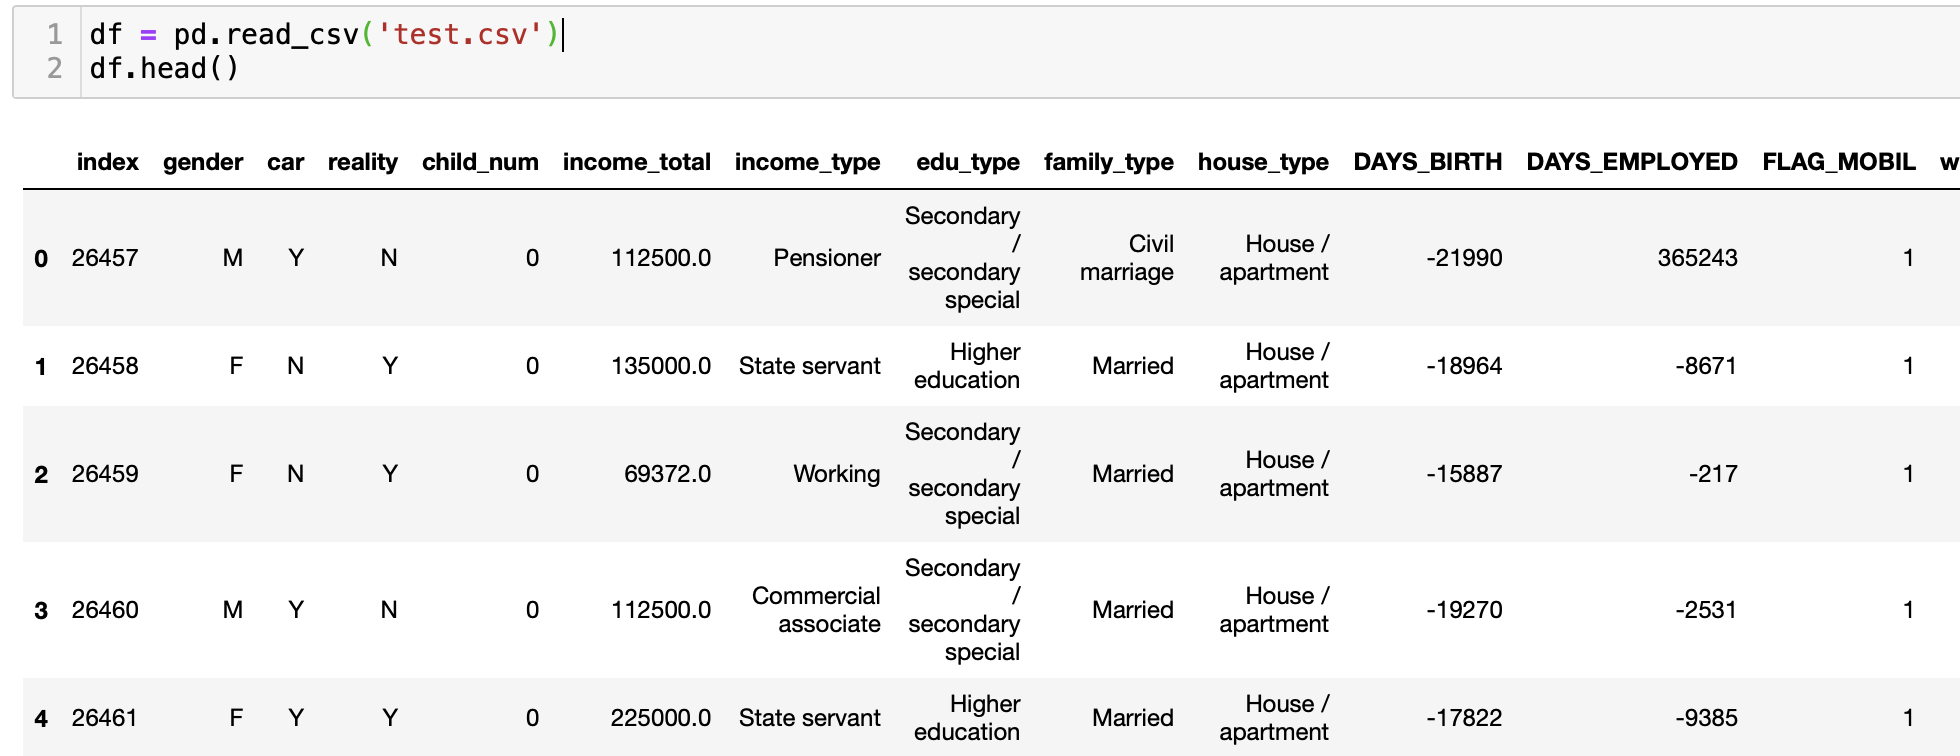
df = pd.read_csv('test.csv')
df.head()
pd.read_csv('파일명')으로 데이터를 불러오고, df로 선언해주었다.
pandas_profile 사용할 준비 완료!
03. profilie_report(프로파일 리포트) 생성
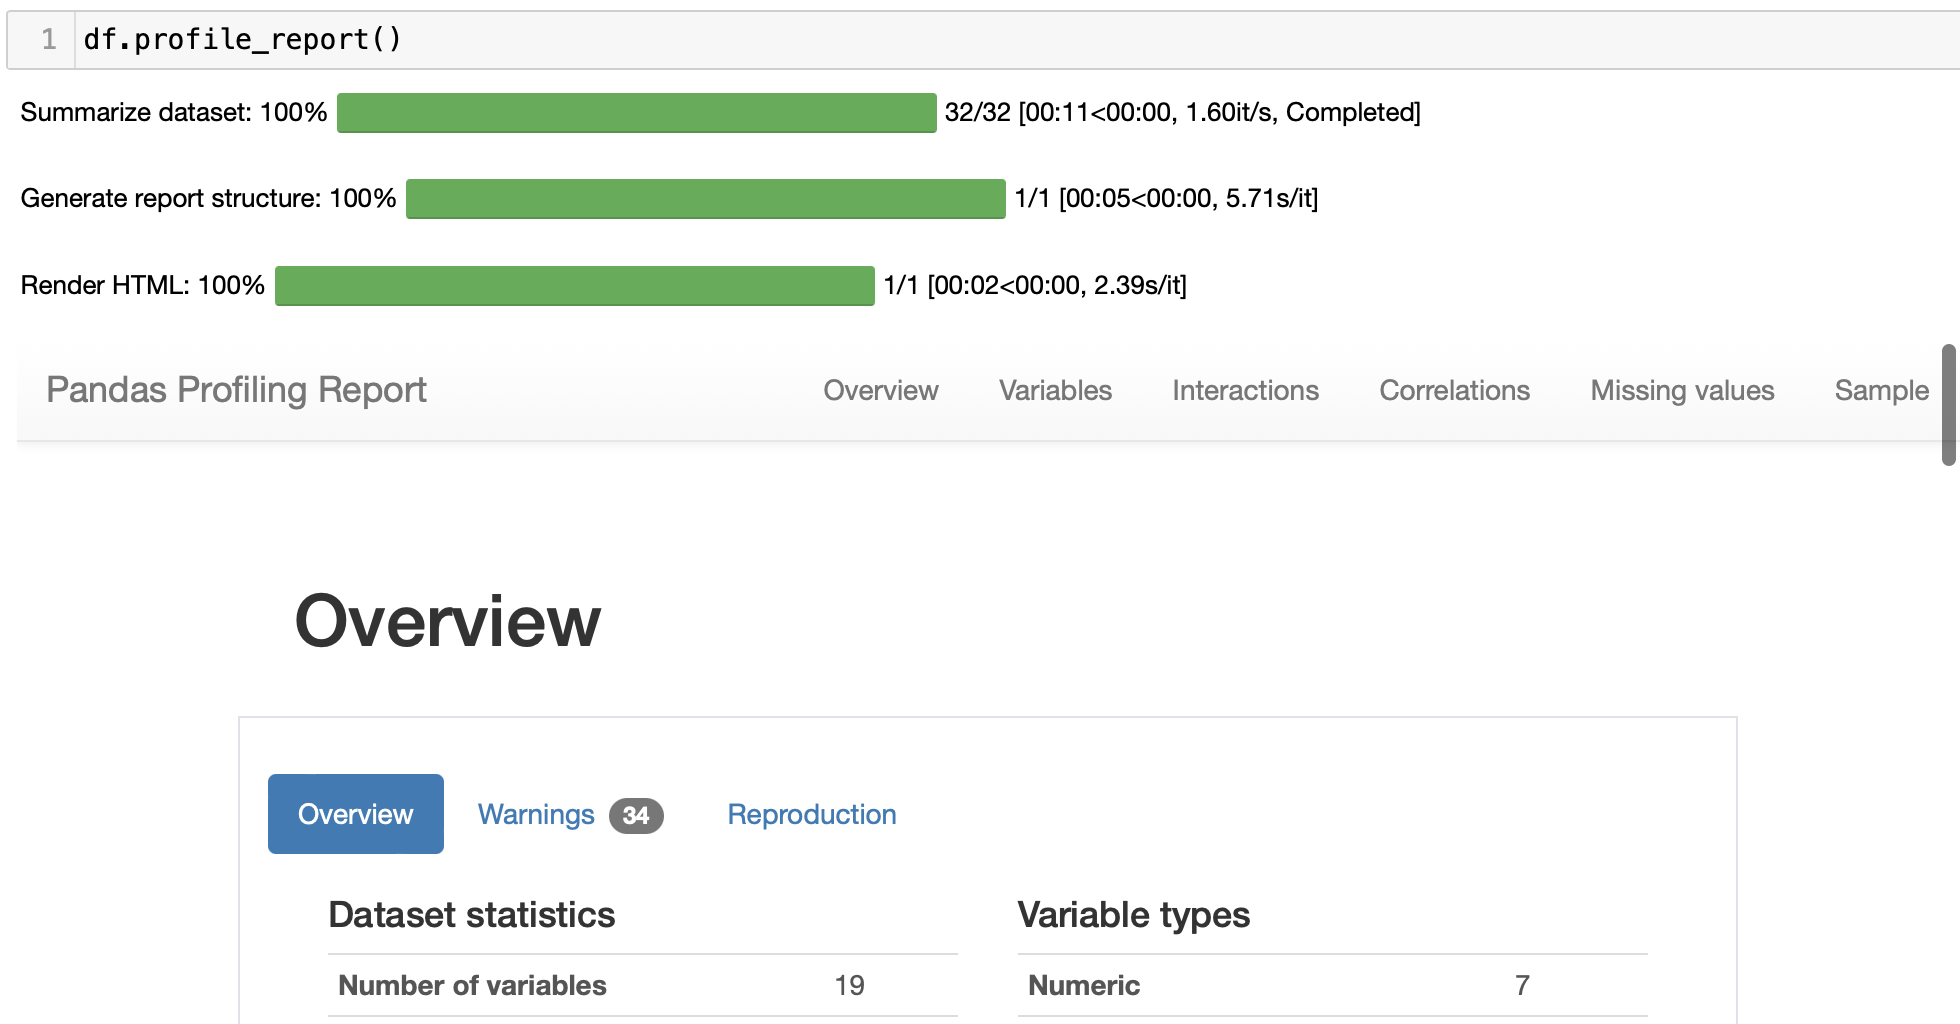
df.profilie_report()불러온 df(데이터 프레임)에 profilie_report( )를 적용하여 프로파일 리포트를 생성해준다.

profilie_report가 완성되었다.
스크롤 내려서 확인해보면 자동적으로 EDA 한 결과들이 출력되어있다.
04. profile_report(프로파일 리포트) 파일로 저장
내가 만든 프로파일 리포트(profile_report)를 하나의 파일로 저장하고 싶다면?
total = df.profile_report()
total.to_file('profile_report.html')
df.porfile_report()를 변수(total)로 선언한 뒤,
total.to_file('파일명.html')을 통해 프로파일 리포트를html 파일로 저장한다.

html 파일로 저장하기 완료!
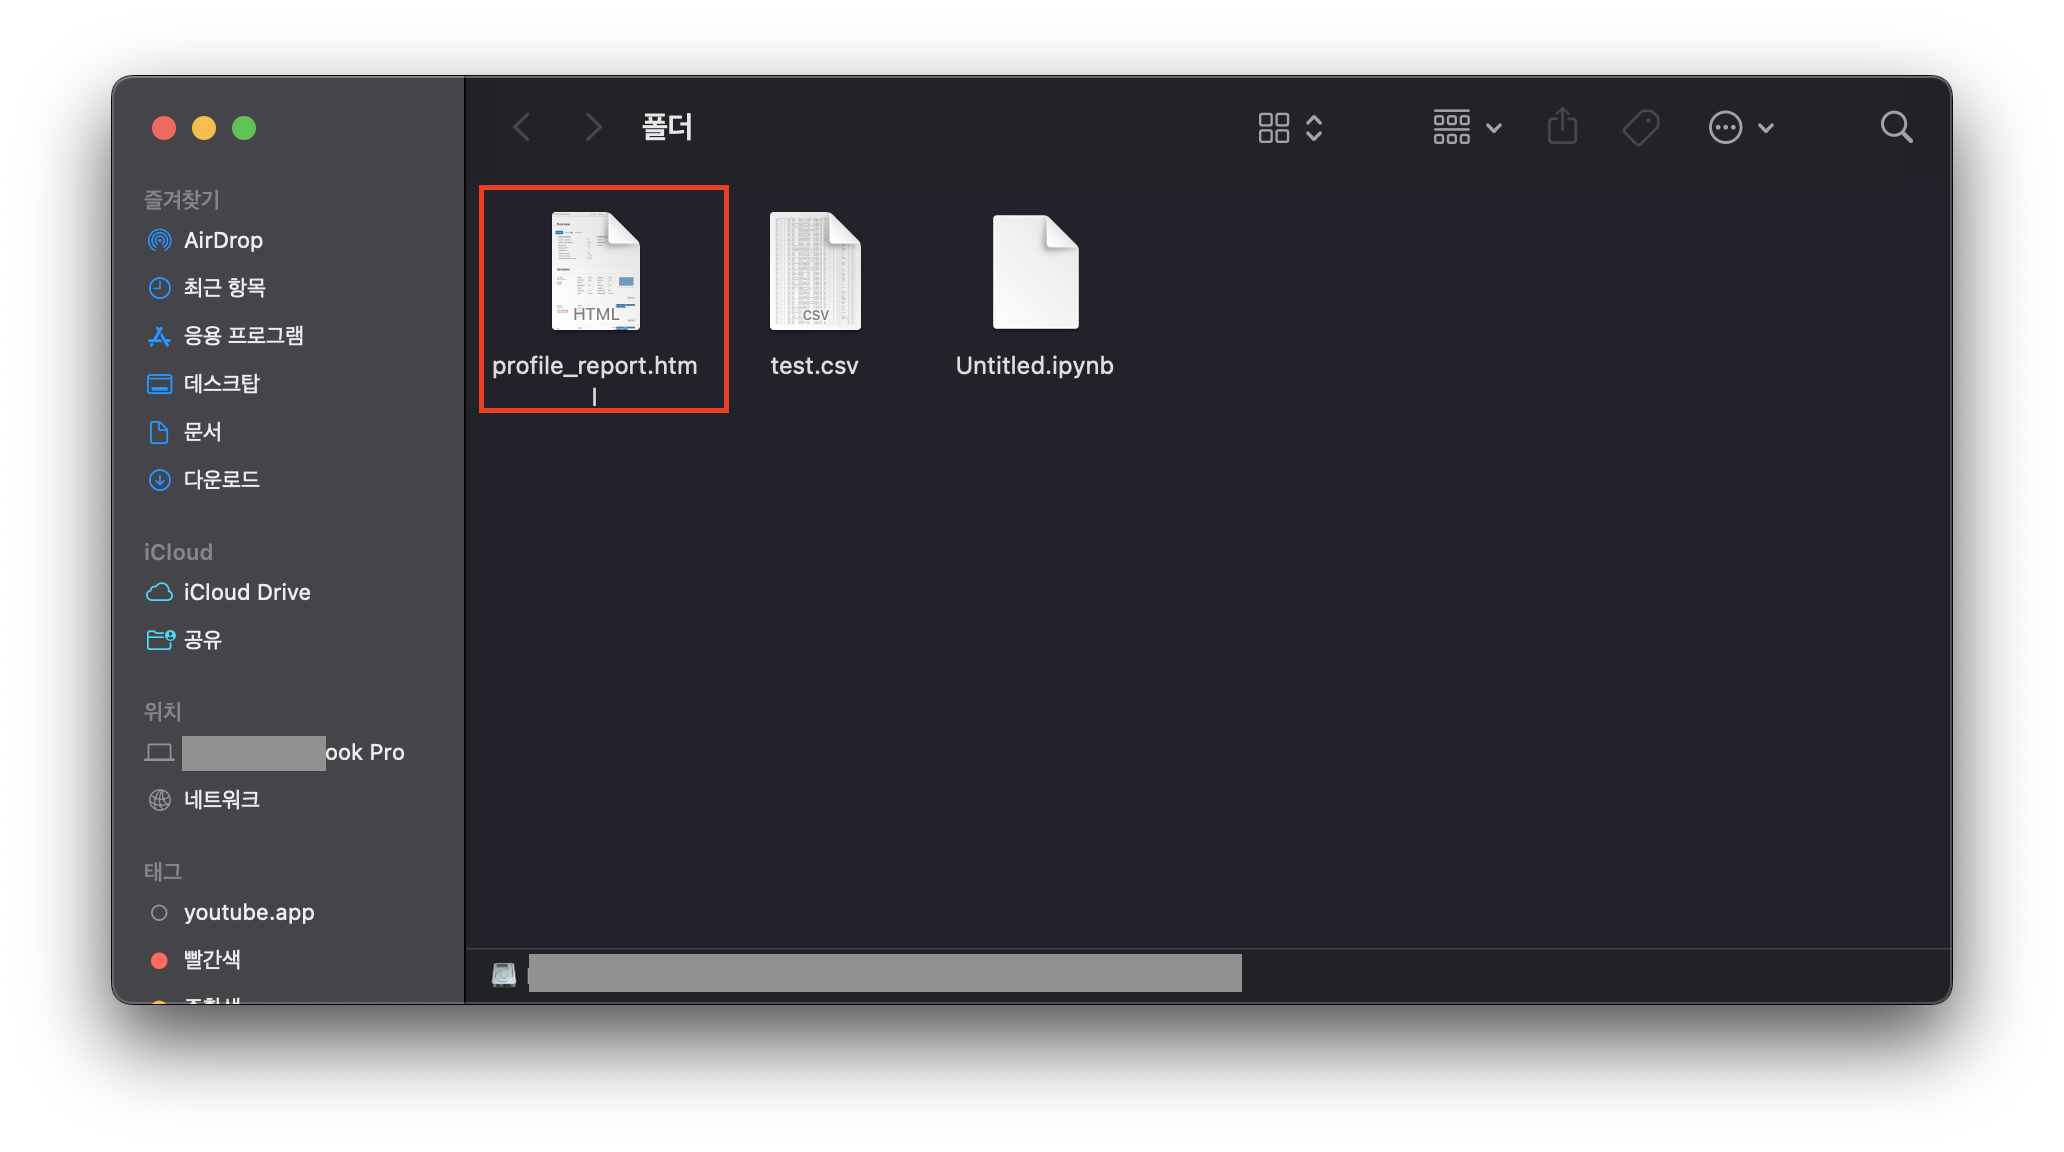
생성한 html 파일은 어디에 있느냐 하면!

해당 작업을 하고 있는 주피터 노트북 파일이 있는 위치에 profile_report.html이 생성된다.
열어보자!

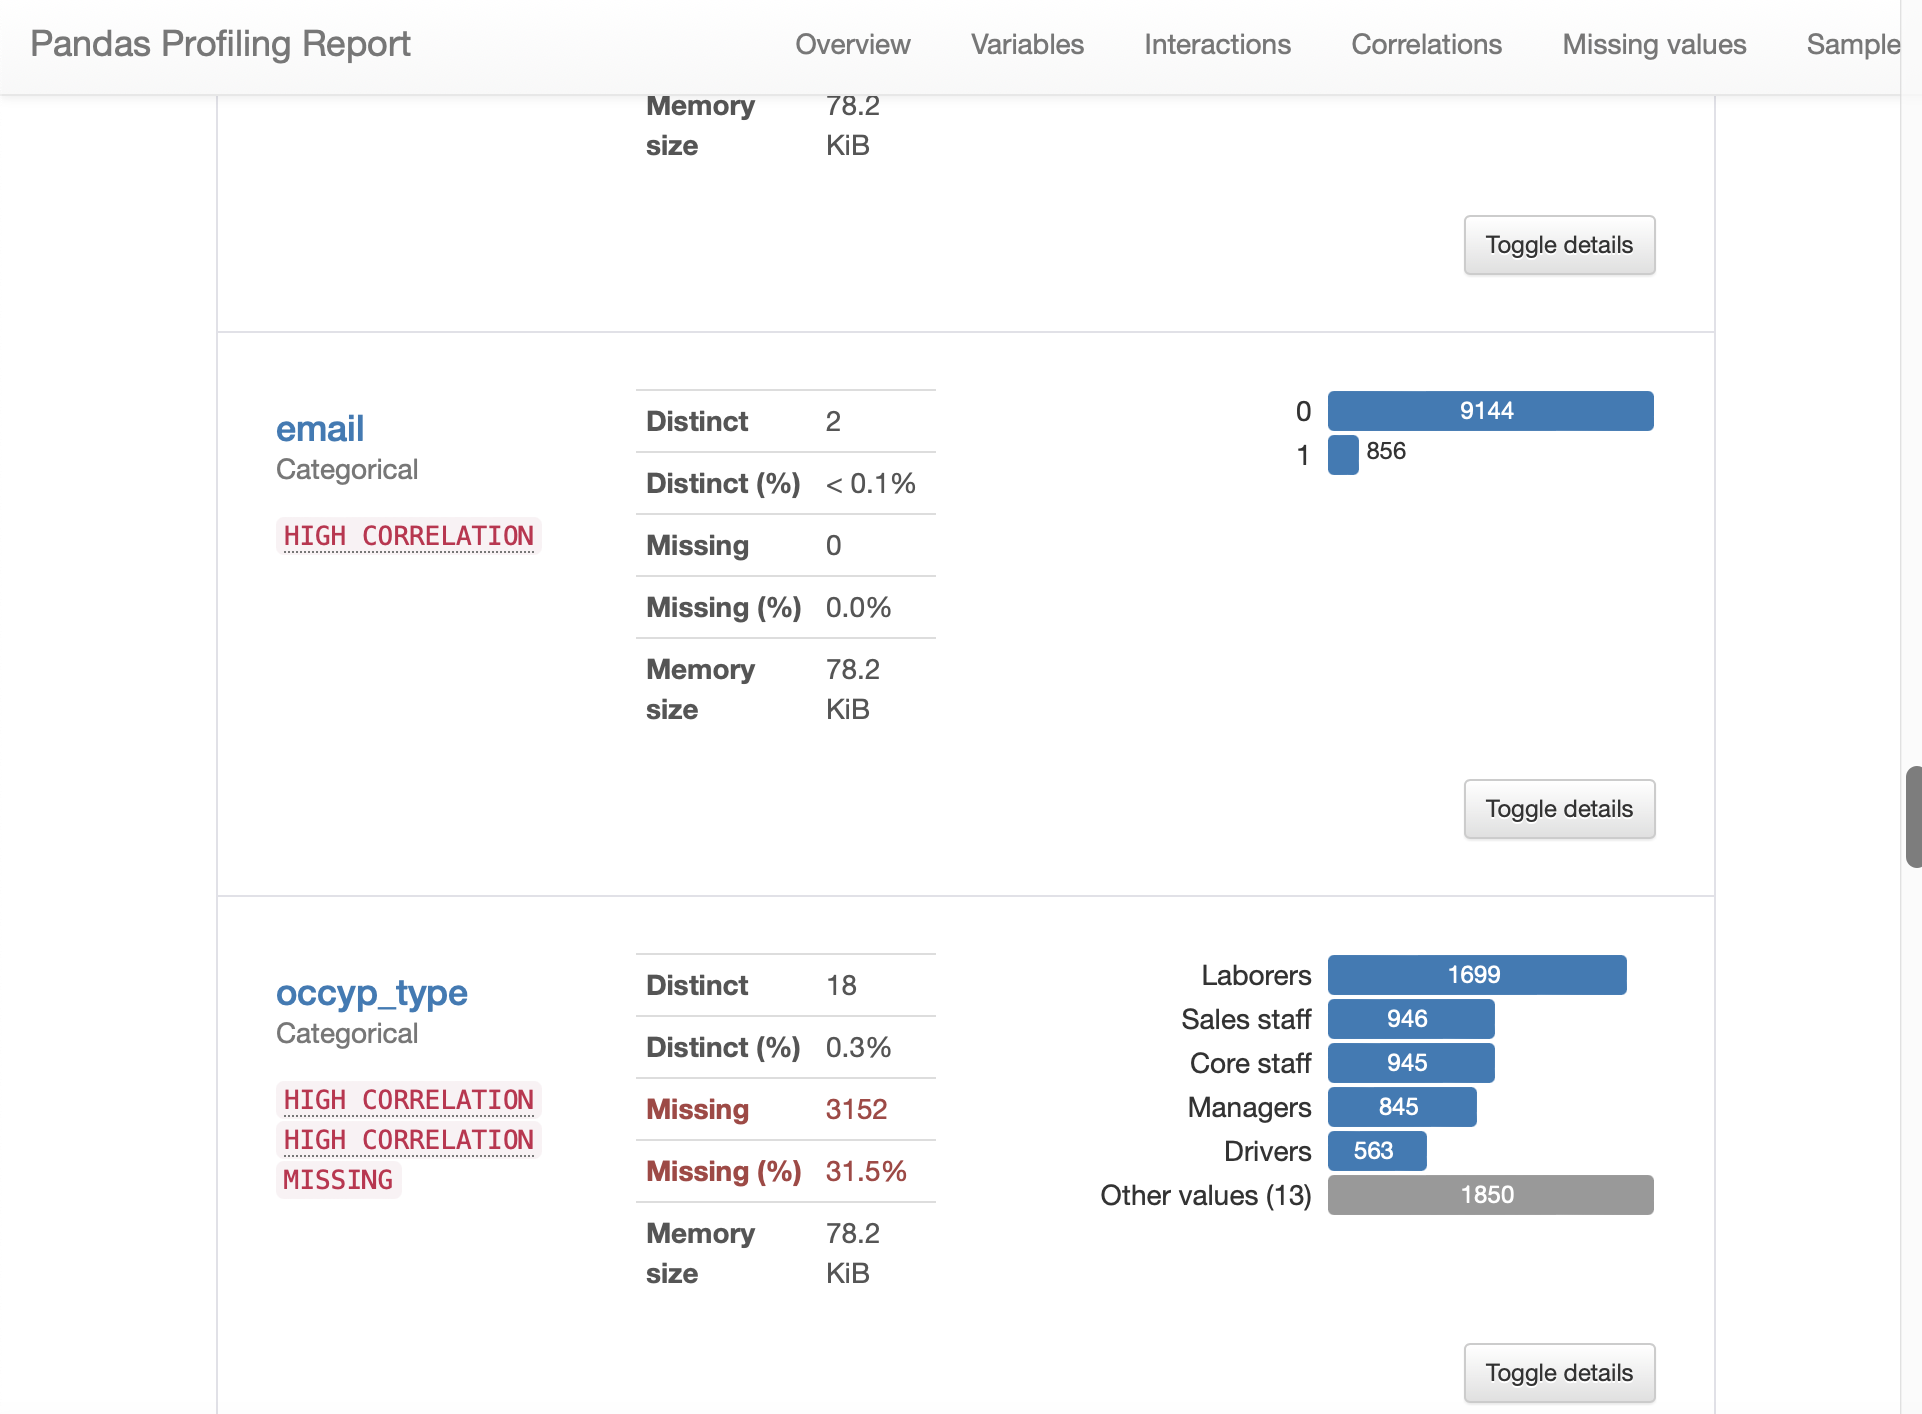
profile_report.html을 열어보면 데이터 EDA 결과가 리포트 형식으로 만들어져 있다!
끝!
반응형
'💻프로그래밍 > python' 카테고리의 다른 글
| [파이썬] Unnamed: 0없이 csv파일 불러오기 (index_col=0) (0) | 2022.09.09 |
|---|---|
| 맥 아나콘다 제거 방법 (How to remove anaconda from Mac os completely?) (0) | 2022.07.28 |
| [파이썬] pd.date_range 시계열 데이터 처리 (0) | 2022.07.21 |
| 주피터 노트북 테마 변경, 초기화 (0) | 2021.11.01 |
| 맥북 주피터노트북(Jupyter Notebook) pdf 저장 오류 해결 방법 (MacTex) (0) | 2021.10.25 |


